Are you dealing with an Active Roof Leak? Here is the honest truth about why you need to act fast.
A recent 2026 industry report shows the average US water damage claim now exceeds $15,400. That figure highlights exactly why swift action matters.
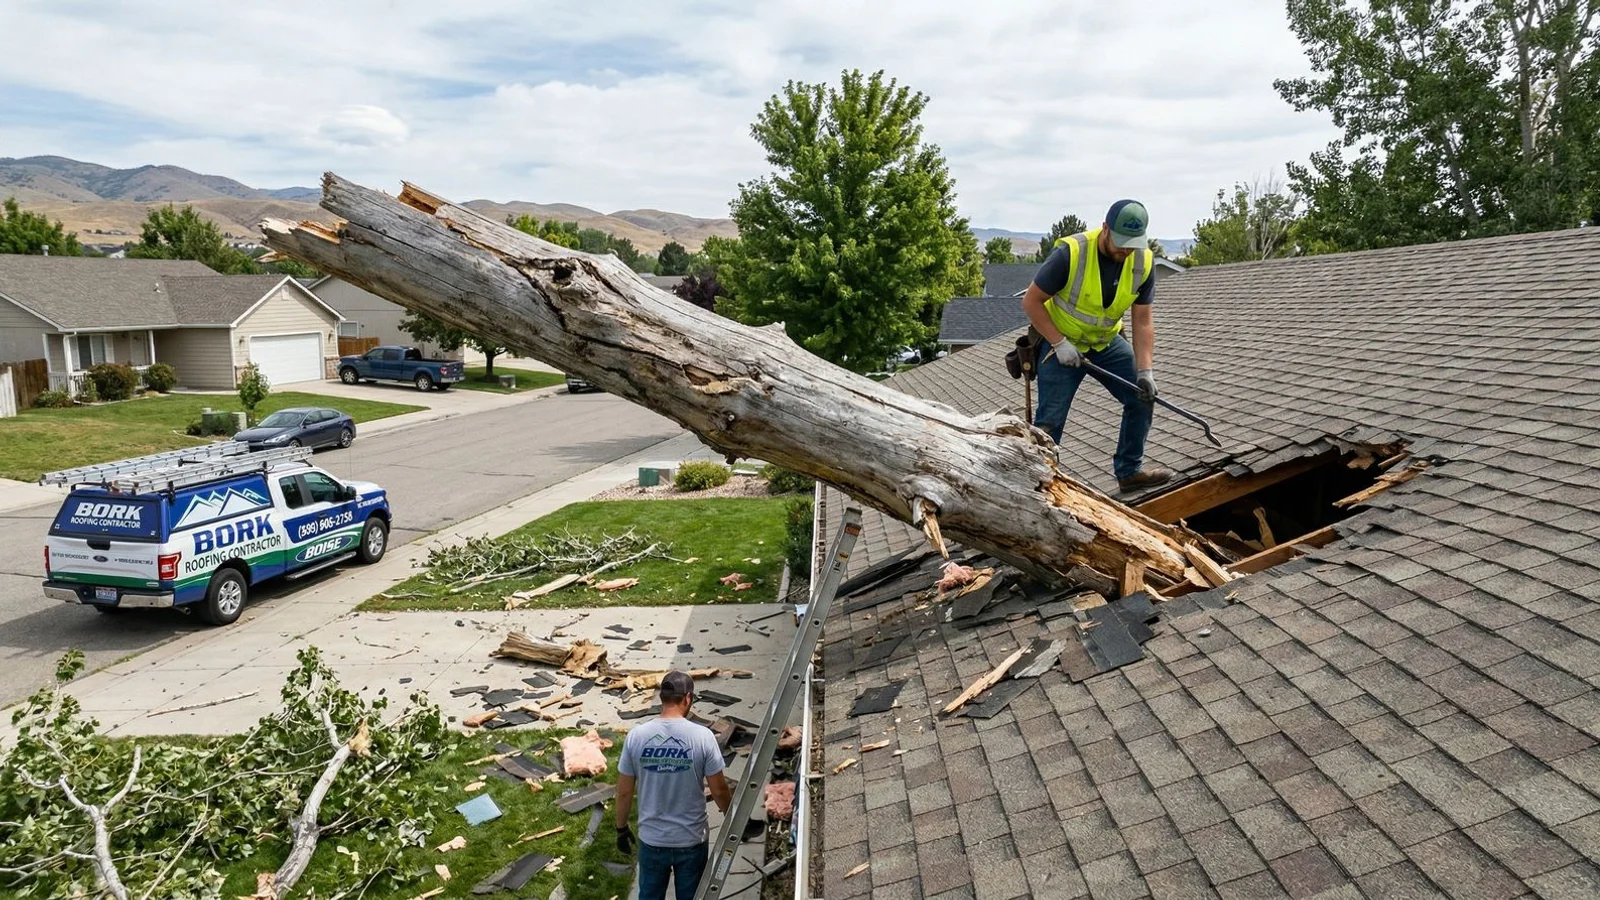
We have seen how an ignored drip turns into a massive drywall failure. Taking control in the first hour makes all the difference.
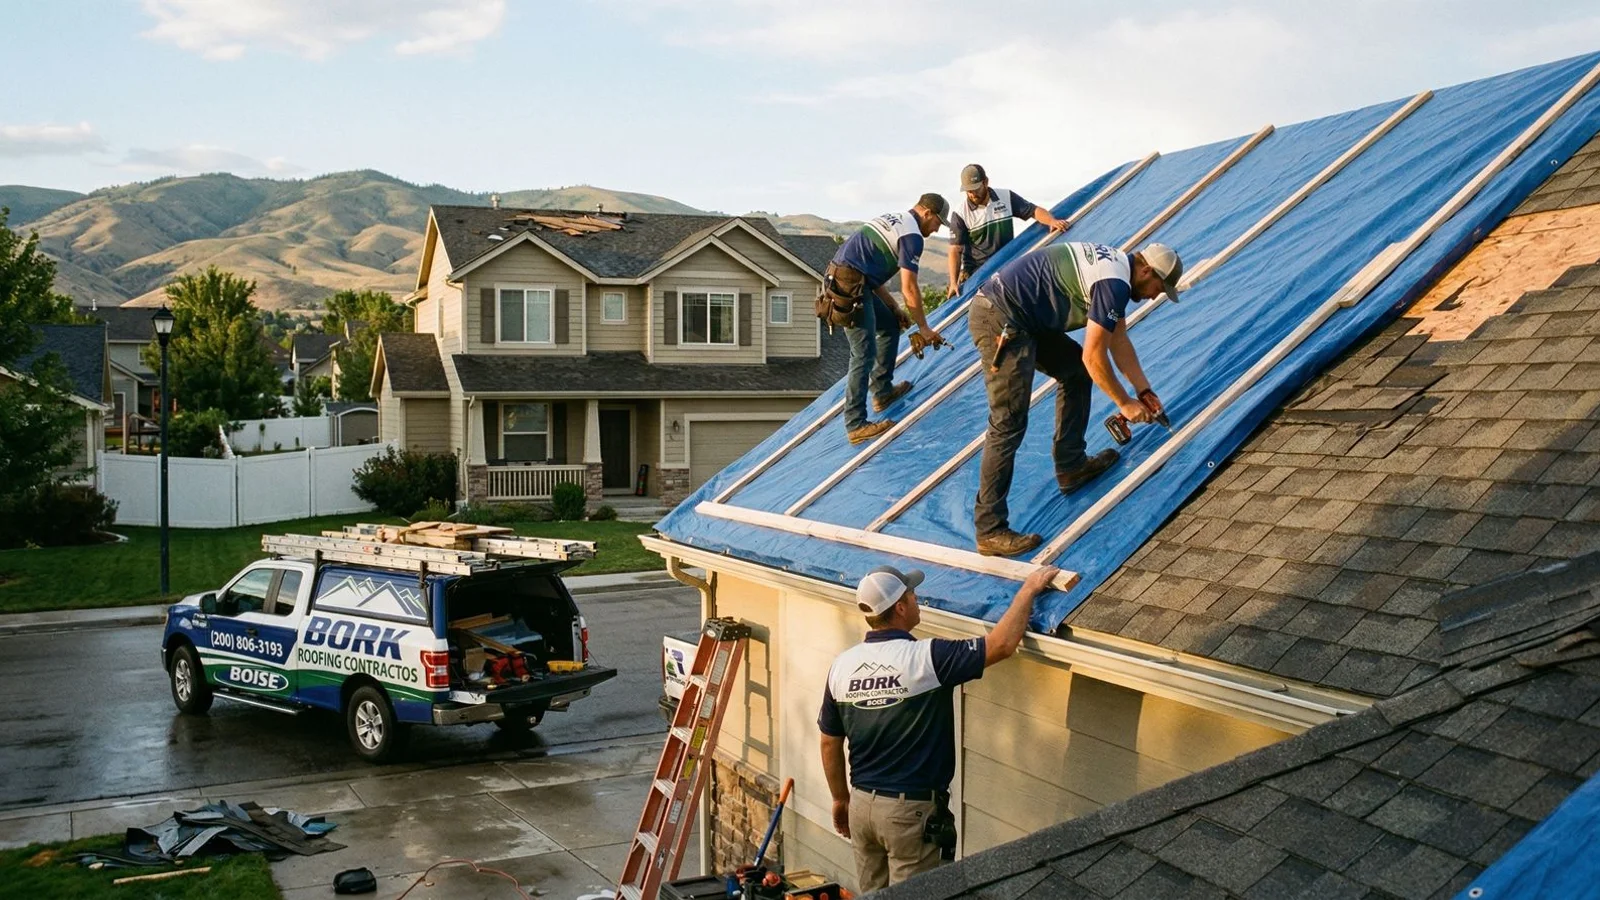
Our team at Bork Roofing responds to 24/7 emergency roof repair calls across the Treasure Valley. Step one is calling us right away at (208) 545-8226.
Let’s review six practical steps to protect your property while help is on the way.
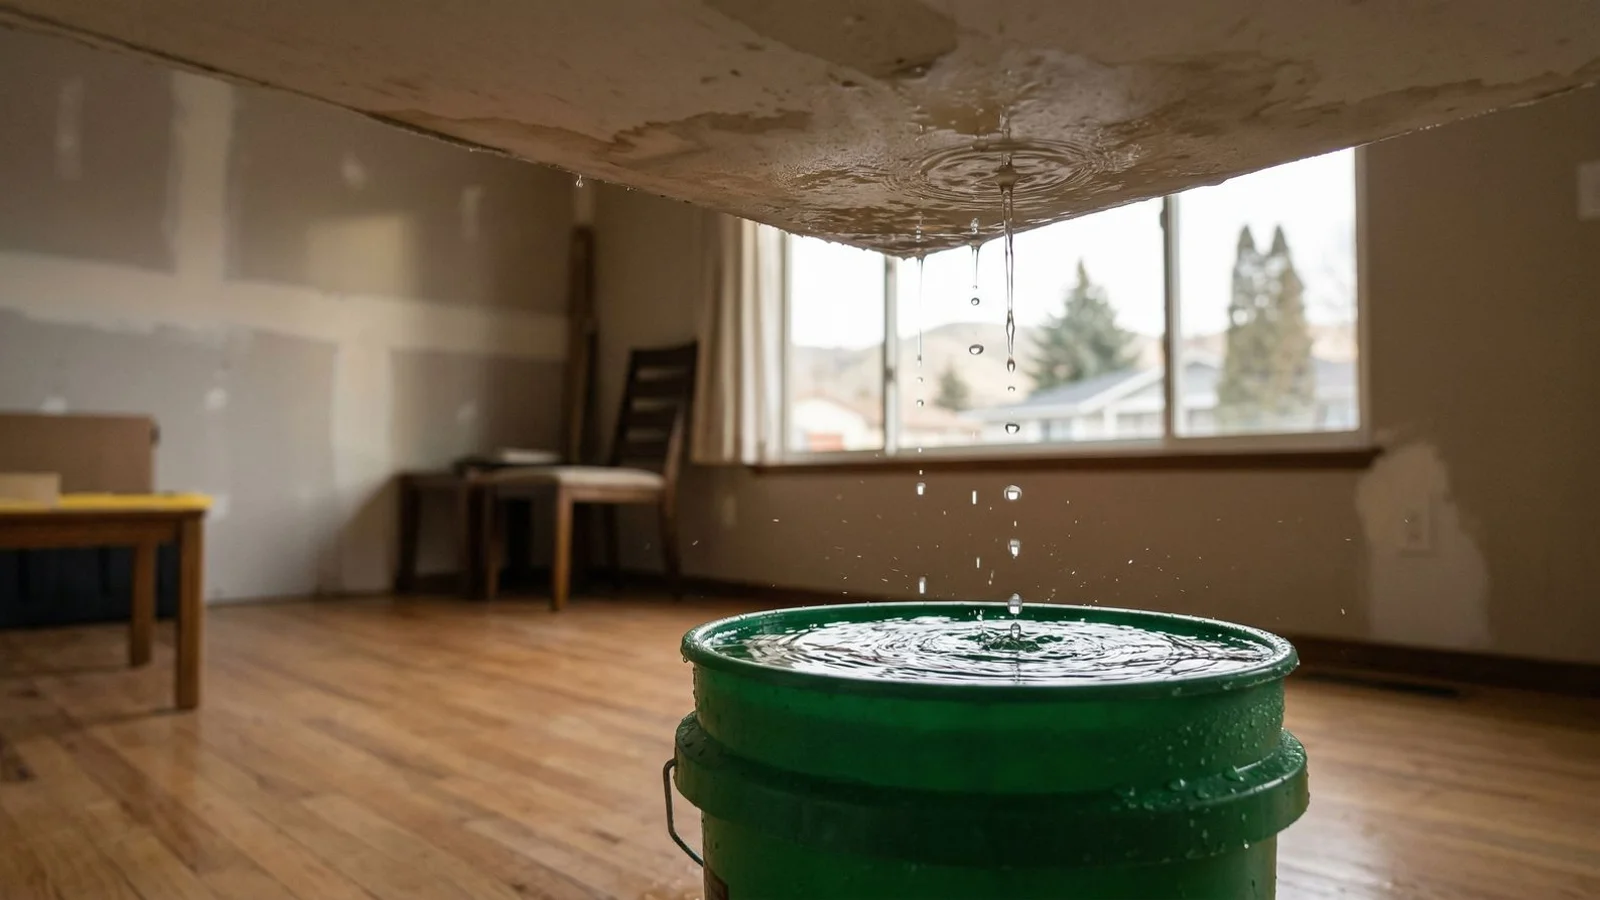
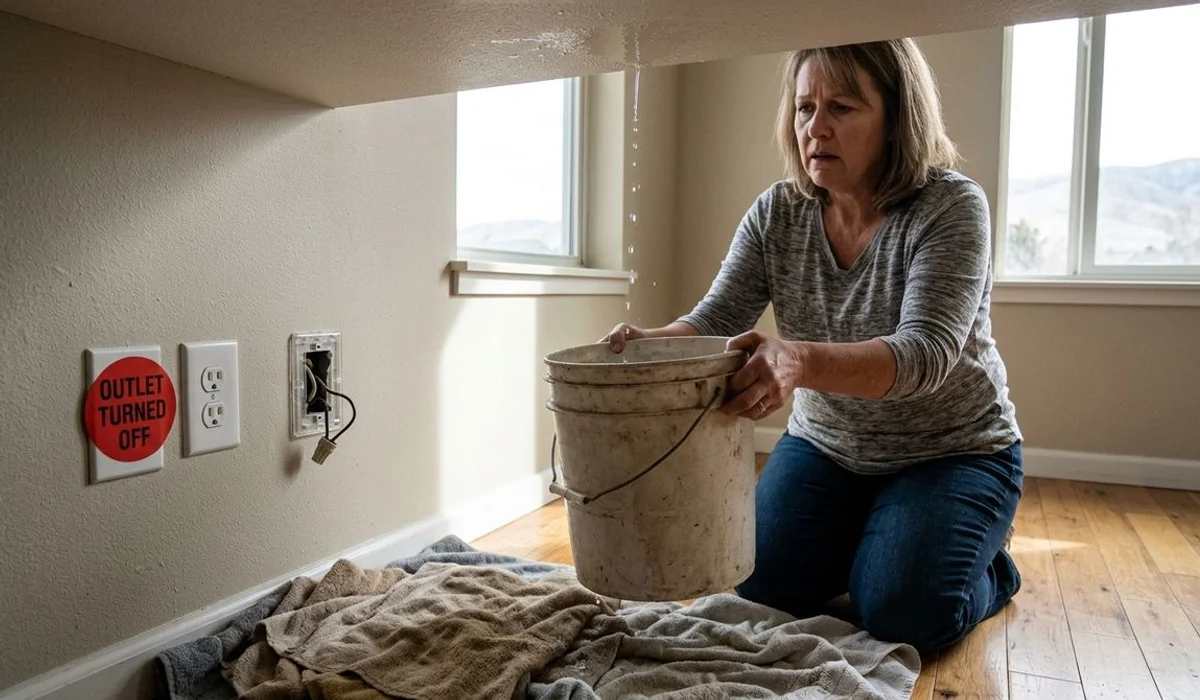
Active Roof Leak? Here is Step 1: Contain the Water
Water travels horizontally along joists before it drops. Finding the lowest point on the ceiling helps you position your catch containers effectively.
Grab standard 5-gallon Home Depot Homer buckets, large pots, or plastic storage bins. Place them directly under every active drip to stop the spread.
Our technicians always recommend laying out a heavy-duty tarp or plastic sheeting under your buckets. Splash damage ruins hardwood floors and carpets very quickly.
Tools for Proper Containment
A simple setup minimizes the mess. Consider grabbing these items:
- Standard 5-gallon plastic buckets for high-volume catching.
- Heavy-duty tarps to protect flooring from splashes.
- Thick cotton towels to border the splash zone.
- A General Tools MMD4E moisture meter to map the hidden dampness.
Checking the surrounding drywall with a moisture meter reveals how far the water has migrated. Readings over 15 percent indicate a problem area that requires professional drying.
Step 2: Relieve the Pressure
Water weighs about 8.3 pounds per gallon. A sagging ceiling indicates that a dangerous amount of weight is pooling inside the drywall.
This creates a severe collapse hazard that threatens anyone standing underneath.
We advise homeowners to release this pressure manually. This action seems completely counterintuitive, but it prevents the ceiling from crashing down unexpectedly.
How to Safely Puncture the Ceiling
Releasing the trapped liquid takes only a minute. Follow this simple process:
- Place a large container directly under the lowest point of the bulge.
- Put on safety glasses to protect your eyes from debris.
- Use a long screwdriver or a sharp nail to punch a small hole in the center.
- Let the liquid drain steadily into the bucket below.
Relieving the weight keeps the structural damage localized. Repairing a small puncture hole is significantly cheaper than replacing an entire collapsed ceiling panel.
Step 3: Move Valuables Out of the Way
The US Environmental Protection Agency warns that mold can begin growing on wet organic materials within 24 to 48 hours. Anything electronic, paper-based, or irreplaceable needs to move out of the splash zone immediately.
Televisions, computers, artwork, books, and rugs should get pulled from the affected room.
Our priority is minimizing your total property loss. If the liquid spreads to other rooms, inspect the floor above to ensure moisture is not traveling through the joists.
Triage Your Belongings
Deciding what to save first saves precious time. Use this quick reference guide:
| Item Category | Action Required | Risk Level |
|---|---|---|
| Laptops and Electronics | Unplug and remove immediately | Critical |
| Paper Documents and Books | Relocate to a dry room | High |
| Upholstered Furniture | Shift away from drips or cover | Moderate |
| Heavy Wood Furniture | Place foil squares under legs | Low |
Creating a clear workspace also allows emergency responders to move safely once they arrive.
Step 4: Shut Off Affected Electricity
Water and electricity create a lethal combination. If moisture gets close to ceiling lights or electrical fixtures, shut off the breaker for that room at your main panel.
The National Fire Protection Association notes that electrical arcing can reach temperatures exceeding 10,000 degrees Fahrenheit, easily igniting damp wood framing.
Our safety protocol requires isolating the power immediately. If you cannot identify the correct breaker, shut off the main breaker until a professional assesses the panel.
The Electrical Safety Foundation International recommends having a qualified electrician inspect any water-damaged components before restoring power.
Step 5: Document Everything for Insurance
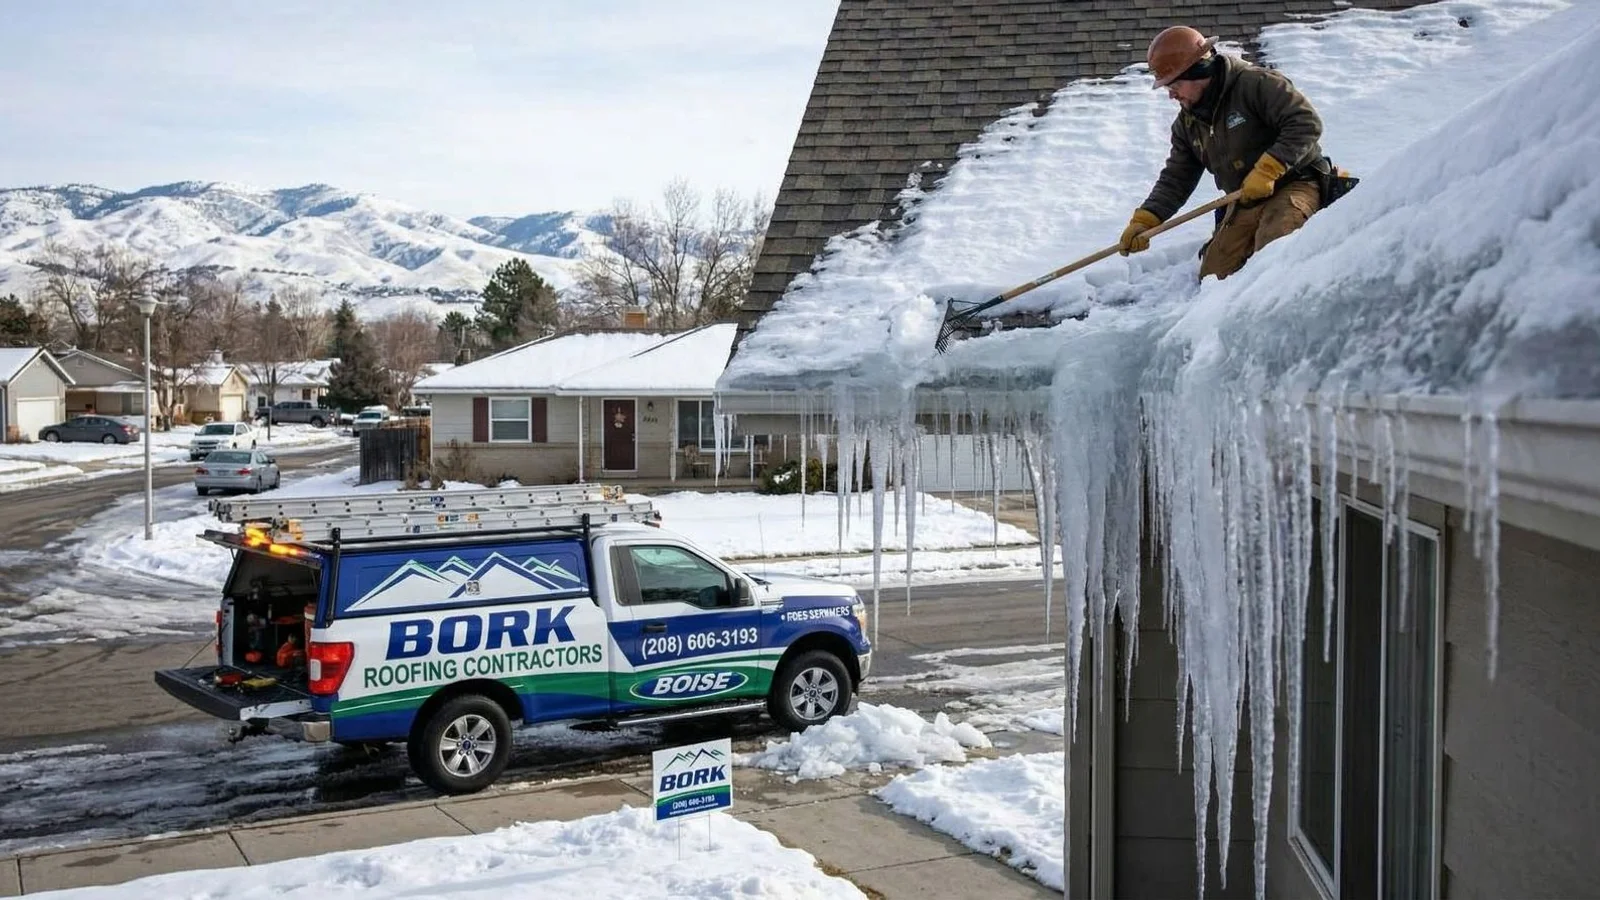
Recent 2025 industry data shows that water damage and freezing account for over 43 percent of all home insurance claims. Standard HO-3 homeowner policies usually cover interior damage if the event is sudden and accidental.
Proving the damage was storm-related requires thorough documentation before the cleanup starts.
We tell clients to grab their smartphones and start recording immediately. A clear video of the dripping ceiling provides undeniable proof for your insurance adjuster.
What to Capture on Camera
Insurance adjusters need specific evidence to approve a claim. Make sure to photograph:
- The active dripping in progress from multiple angles.
- Pooling liquid on floors, carpets, or expensive furniture.
- Any expanding ceiling sags or wall staining.
- Specific serial numbers on damaged electronics.
- The exterior roof damage only if visible from the ground.
Failing to document the disaster often leads to delayed payouts or outright claim denials.
Step 6: Do NOT Climb the Roof
Storm seasons tempt many property owners into attempting dangerous DIY repairs. Wet asphalt shingles are incredibly slick, and unpredictable storm winds increase the danger significantly.
The US Centers for Disease Control and Prevention reports that 81 percent of fall injuries treated in emergency rooms involve a ladder.
Our crews train extensively to move across compromised structures safely. Emergency exterior work requires specialized fall protection harnesses and steep-slope experience.
The Hidden Risks of DIY Inspections
Going up on a wet roof rarely solves the immediate problem. Consider these verified hazards:
- Half of all non-fatal ladder injuries occur from heights below 10 feet.
- Stepping on a saturated roof deck can cause a total structural punch-through.
- Improvised tarping often blows away within minutes during high winds.
Staying firmly on the ground is the smartest decision you can make during a storm.
What Happens When We Arrive
Dispatching an expert changes the trajectory of the disaster. Our emergency response technician arrives equipped with heavy-duty 10-mil poly sheeting and structural patching materials.
Most active situations can be fully stabilized within 30 to 60 minutes of our arrival.
We carry professional-grade Grizzly Tarps and furring strips on every single truck. This readiness ensures we stop the exterior intrusion fast.
Here is exactly what the technician will do:
- Assess the interior safety and stop the active intrusion.
- Deploy a professional tarp or patch over the exterior source.
- Document the initial damage thoroughly for your insurance provider.
- Schedule a permanent structural repair within 48 hours.
- Recommend certified water remediation if the interior saturation is severe.
Stabilizing the property gives you breathing room to plan the permanent restoration.
Keep This Number Handy
Dealing with an Active Roof Leak? Here is your final reminder.
A fast response prevents a minor issue from becoming a massive mold remediation project. The EPA 48-hour window for mold prevention starts ticking the second the drywall gets wet.
Save this number in your phone right now: (208) 545-8226.
We cover every city in Ada and Canyon County, including Boise, Meridian, Nampa, Eagle, Caldwell, Star, Kuna, and Garden City. Call the team early to protect your property today.